Master Boiling Corn on the Cob: The Foolproof Guide for Perfection
There are few culinary delights as synonymous with summer as a perfectly cooked ear of corn on the cob. Its bright, sweet flavor and satisfying crunch evoke memories of backyard barbecues, picnics, and warm, sunny days. Yet, for all its simple charm, mastering how to boil corn on the cob to perfection can be surprisingly elusive for many home cooks. The fear of rubbery, bland, or, worst of all, mushy kernels often leads to apprehension. But here's a secret: achieving that ideal bite—crisp, sweet, and bursting with natural flavor—is far easier than you might think. Many years ago, a novice cook stumbled upon this secret, an accidental discovery of how little intervention truly fresh corn needs. This guide aims to demystify the process, transforming a potentially intimidating task into one of the simplest and most rewarding kitchen skills you can possess. Forget complicated methods or extensive ingredient lists; we're embracing the elegant simplicity that lets corn's natural brilliance shine.Why Simple is Best: Embracing Corn's Natural Sweetness
When you embark on the journey to boil corn on the cob, understand that its inherent deliciousness is its greatest asset. Freshly picked sweet corn, truly at its peak, requires minimal intervention. Its natural sugars are so vibrant and pronounced that adding extraneous ingredients to the boiling water, such as milk, sugar, or even butter, often does more to mask its delicate flavor than enhance it. Think of it this way: a perfectly ripe strawberry doesn't need to be dipped in sugar to taste incredible. The same principle applies to fresh corn. The goal isn't to create an overly rich or artificially sweetened product, but to gently cook the kernels just enough to soften them slightly while preserving their crisp texture and maximizing their inherent sweetness. This straightforward approach not only yields superior flavor but also simplifies your cooking process immensely. For more insights on this philosophy, you might find our article on Boil Corn the Right Way: Unlock Sweetness Without Mushy Results particularly enlightening.Choosing Your Golden Ears: The Foundation of Flavor
The journey to perfectly boiled corn begins long before the pot hits the stove—it starts at the farmer's market or grocery aisle. Selecting the freshest possible corn is the single most important factor in achieving exceptional results. No amount of perfect boiling can salvage old, dried-out corn. Here’s what to look for:- The Husk: Opt for ears with husks that are bright green, tightly wrapped around the corn, and feel slightly damp. Avoid husks that are yellowed, dry, or have visible wormholes.
- The Silk: The silk strands emerging from the top should be golden-brown and slightly sticky. Steer clear of silk that is dry, brittle, black, or slimy.
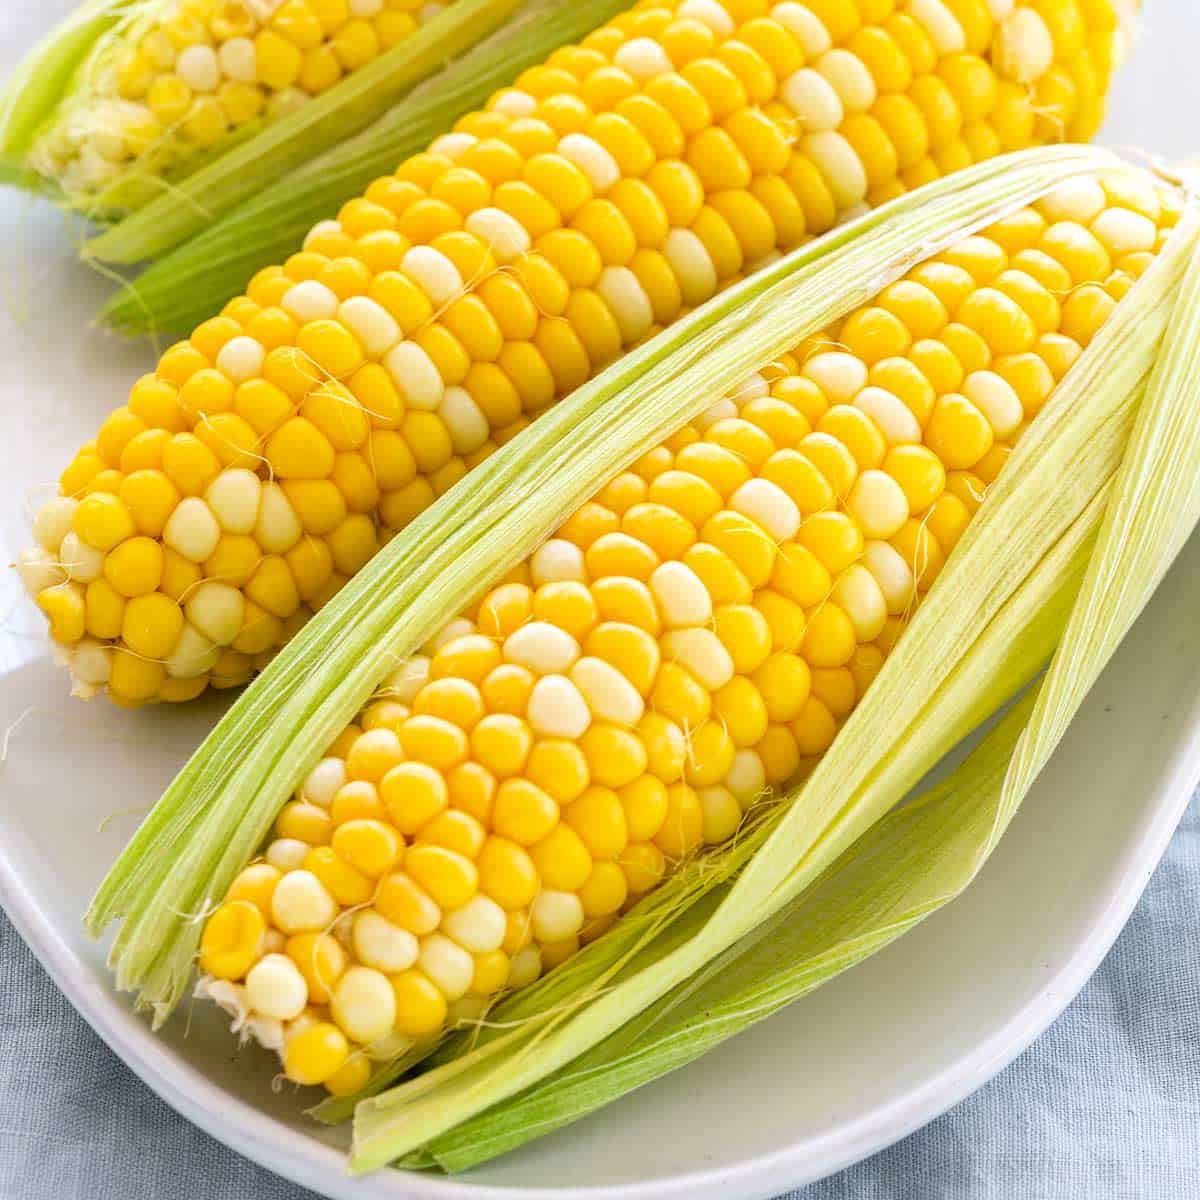
- The Kernels: Gently peel back a small section of the husk near the top (re-cover it if you don't buy that ear). The kernels should be plump, tightly packed, and appear milky when pricked with a fingernail. Avoid ears with shriveled, dimpled, or missing kernels.
The Foolproof Method to Boil Corn on the Cob
Once you’ve selected your pristine ears of corn, the actual boiling process is incredibly simple. This method focuses on efficiency and precision, ensuring you achieve that ideal tender-crisp texture every time.Preparing Your Corn
First, you'll need to prepare your corn for cooking:
- Shuck the Corn: Peel back the green husks completely, tearing them off at the base.
- Remove the Silk: After shucking, you'll likely find stubborn strands of silk clinging to the kernels. The easiest way to remove these is to rub the ear vigorously with a clean, damp paper towel or a stiff brush. Don't worry about getting every single strand; a few tiny ones won't affect the taste.
Setting the Stage for Success
Now, let’s get ready to boil corn on the cob:
- Choose the Right Pot: Select a large pot, spacious enough to fully submerge all the ears of corn you plan to cook without overcrowding. This ensures even cooking.
- Fill with Water: Fill the pot with plain cold tap water. There's no need for milk, sugar, or butter in the boiling water. In fact, adding salt to the water can sometimes toughen the kernels, so it's best to season after cooking.
- Bring to a Rolling Boil: Place the pot on the stove over high heat and bring the water to a vigorous, rolling boil. This is crucial for rapid and even cooking once the corn is added.
The Boiling Process
The magic happens quickly, so be ready:
- Add the Corn: Carefully lower the shucked ears of corn into the boiling water using tongs. Make sure they are fully submerged.
- Boil Briefly: Once the water returns to a boil (which should happen quickly if your pot was at a rolling boil and you didn't overcrowd it), set your timer for a mere 3-5 minutes. This brief cooking window is the secret to tender-crisp perfection.
- Remove Promptly: As soon as the timer goes off, use tongs to immediately remove the corn from the hot water. Prolonged exposure to heat, even after the burner is off, can lead to overcooked, mushy corn.
For a quick summary of this straightforward approach, check out Quick & Easy: The Fail-Proof Method for Perfect Boiled Sweet Corn.
Mastering the Timing: The Key to Crispness, Not Mush
The difference between sublime, snappy kernels and disappointing, mushy corn lies almost entirely in the cooking duration. Many people make the mistake of boiling corn for too long, often out of habit or a misconception that it needs extended cooking like other vegetables. Fresh sweet corn is already incredibly tender. Its natural sugars are delicate and convert to starch quickly once exposed to heat. When you boil corn on the cob for too long, the crisp cell walls break down excessively, releasing more starch and diminishing both its vibrant color and its delightful crunch. Instead of bursting with sweet juice, overcooked kernels become soft, sometimes pasty, and lose much of their characteristic sweetness. A tell-tale sign of overcooked corn is when it starts to look dull yellow or even slightly translucent, rather than its bright, opaque golden hue. For truly tender-crisp kernels, a quick dip in boiling water is all that’s needed to warm them through, enhance their sweetness, and achieve that perfect texture. Trust the 3-5 minute rule; it's short, but it's effective.Beyond the Pot: Serving & Storing Your Perfect Corn
Once your perfectly boiled corn is out of the pot, the possibilities are endless.Serving Suggestions
- Classic Butter and Salt: The undisputed champion. A generous slather of softened butter (salted or unsalted, to your preference) and a sprinkle of flaky sea salt is often all that's needed.
- Elevated Flavors: Experiment with compound butters (garlic-herb, chili-lime), a sprinkle of Parmesan cheese, a dash of smoked paprika, or a squeeze of fresh lime juice for a zesty kick.
- Spice It Up: For a Mexican street corn-inspired twist, spread with a thin layer of mayonnaise or crema, sprinkle with chili powder, crumbled cotija cheese, and fresh cilantro.
Getting it Off the Cob
If you prefer to enjoy your corn off the cob for salads, salsas, or as a side dish, here’s a simple trick:
- Place the blanched ear upright in the center of a bundt cake pan or a large bowl.
- Using a sharp knife, slice downwards, letting the kernels fall neatly into the pan/bowl around the hole.
Storage Tips
While best enjoyed immediately, leftover boiled corn can be stored:
- Let the corn cool completely.
- Wrap individual ears tightly in plastic wrap or place kernels in an airtight container.
- Refrigerate for up to 3-4 days. Reheat gently in the microwave or briefly in boiling water.
